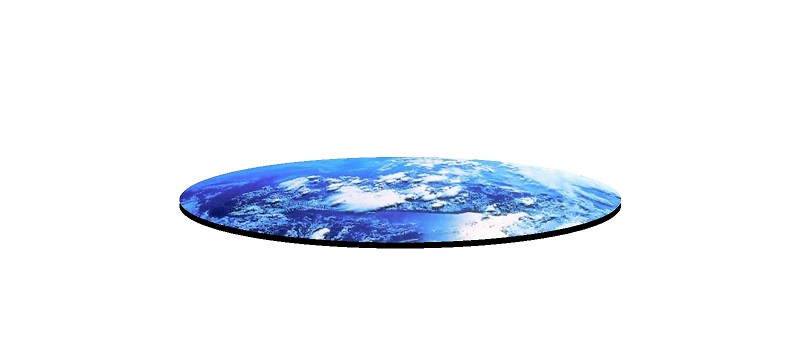
Ch 5: The Earth if a disc:
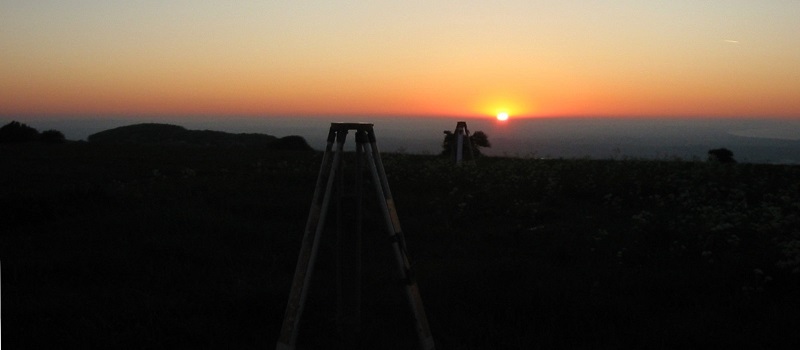
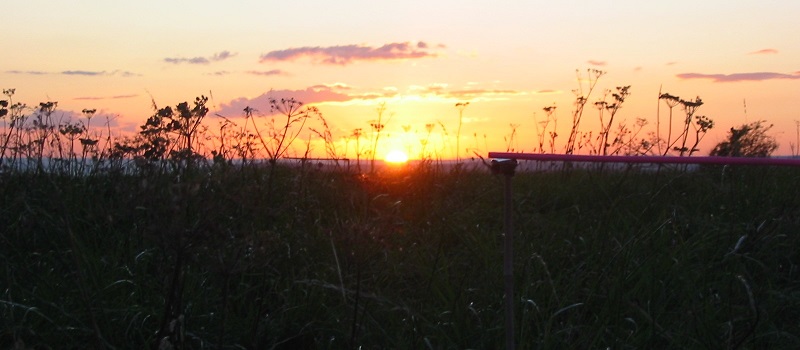
Ch 5: Aligning to sunrise:
Eastbourne.
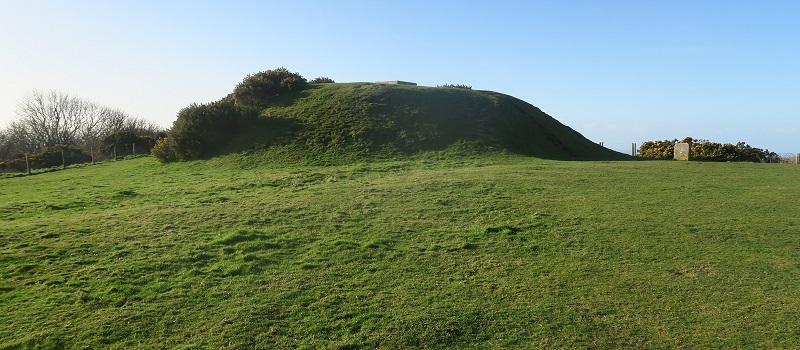
Ch 5: Swire Head, Dorset:
The mound at the Head.
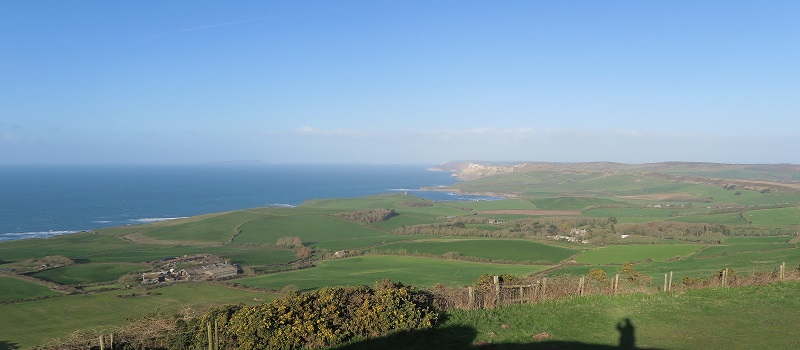
Ch 5: Looking westwards from Swyre Head.
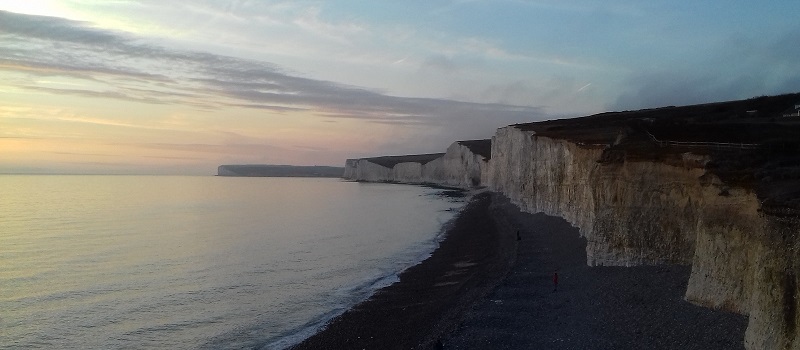
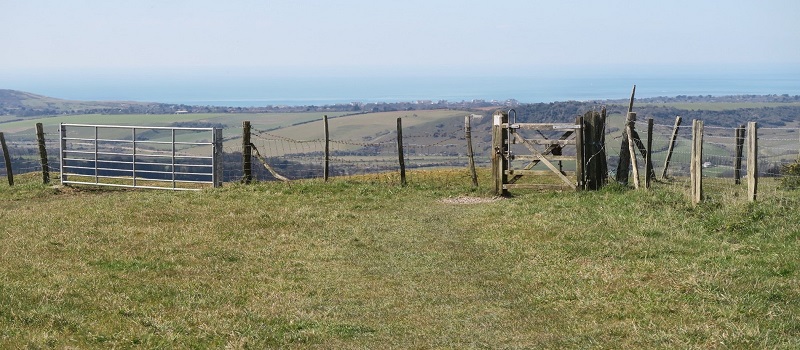
Ch 7: Looking west from Burling Gap:
Cliffs of the Seven Sisters.
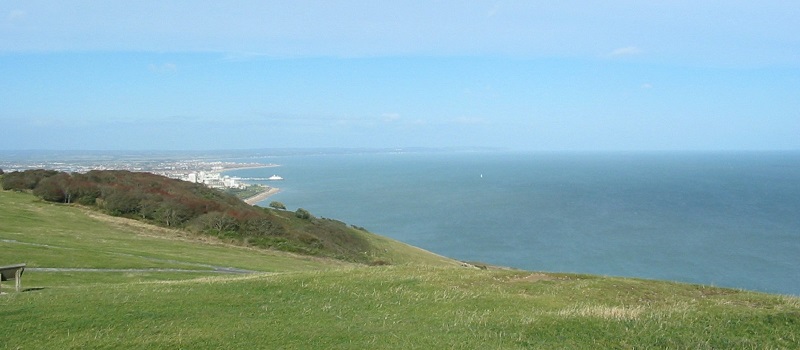
Ch 7: Eastwards from Beachy Head.
Ch 7: Two sets of sticks:
Aligned with the horizon at sunset.
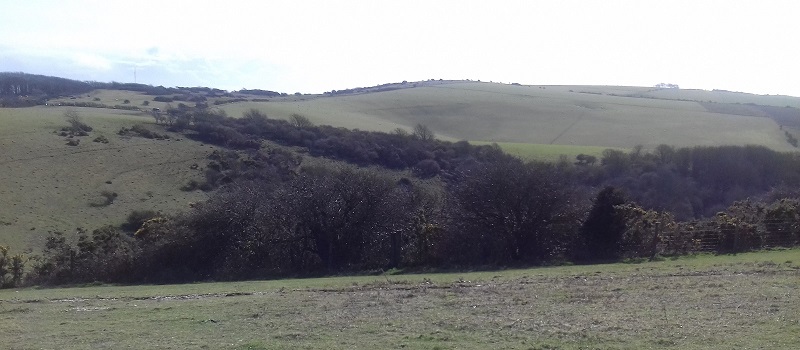
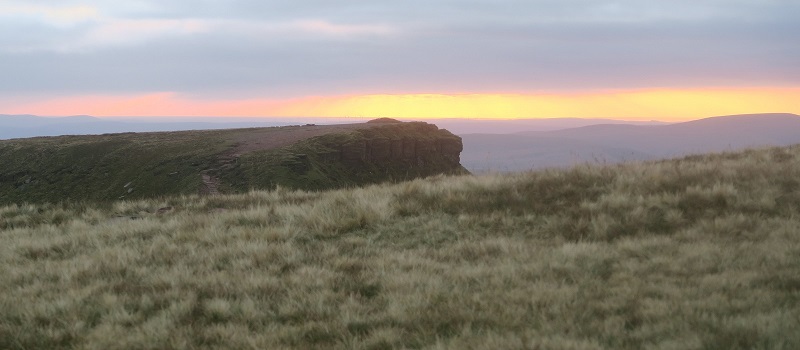
Ch 7: Bourne Hill (aka Willingdon Hill):
Seen from Combe Hill.
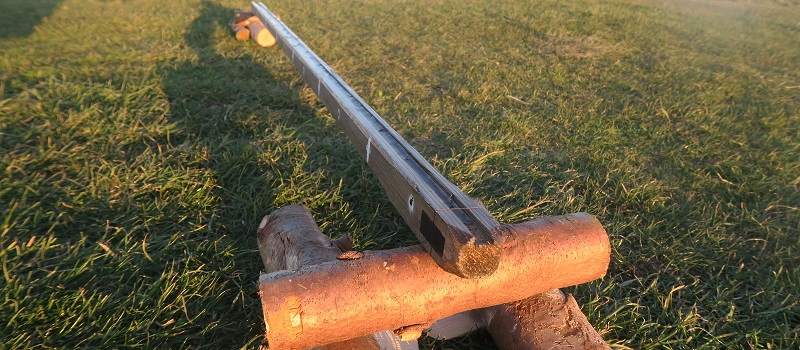
Ch 8: An extended water level.
Ch 8: Creating a levelling platform:
(two stick version).
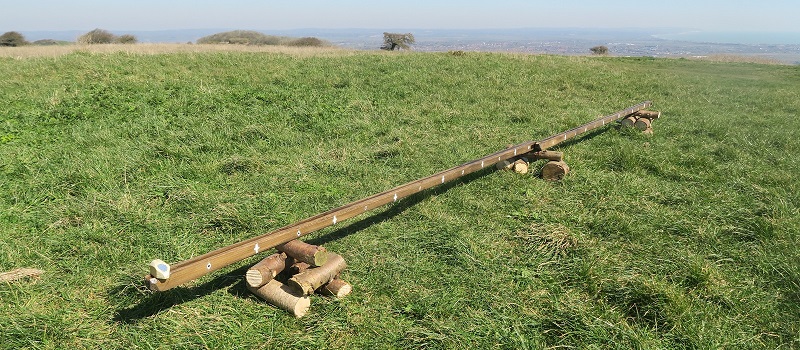
Ch 8: Measuring the angle down:
(using a timber block).
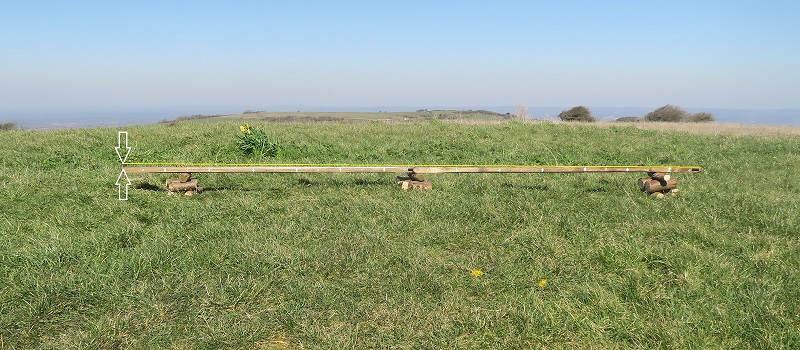
Ch 8: Calculating the angle down to the horizon

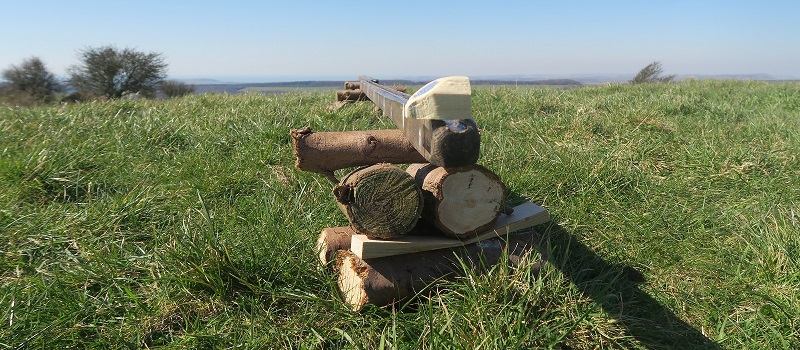
Ch 8: Measuring the angle down:
(using pennies).
Ch 8: Looking west from Windover/Wilmington Hill:

Ch 8: A view to Wilmington Hill mound:
(Bourne Hill and its mound in far distance).
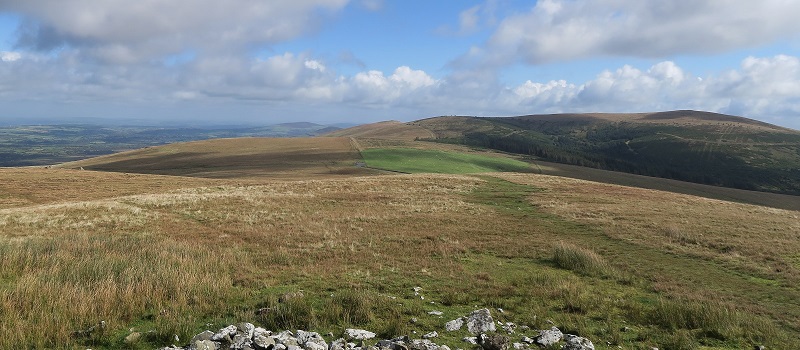
Ch 9: Feddau seen from Eryr:
Ch 9: Eryr seen from Feddau:
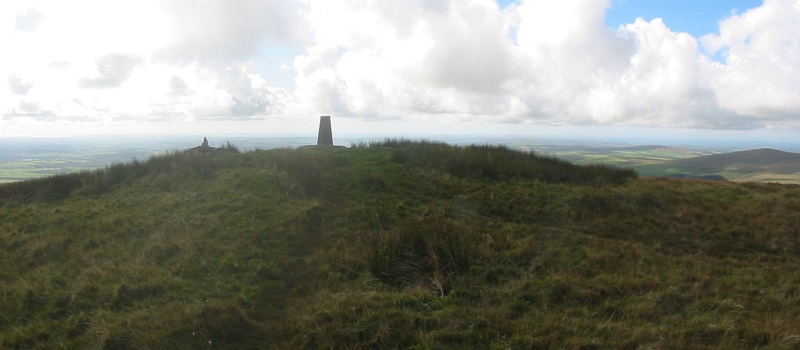
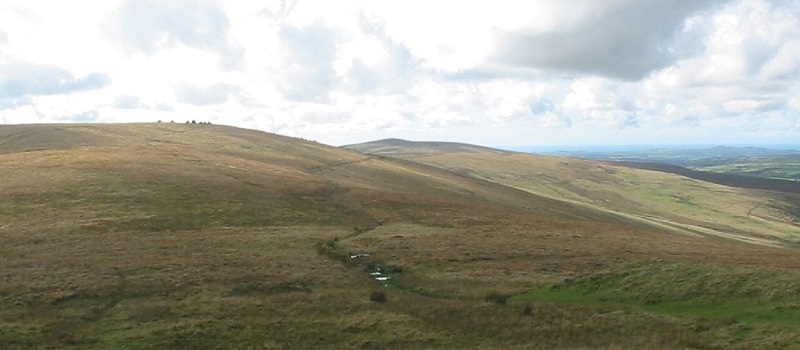
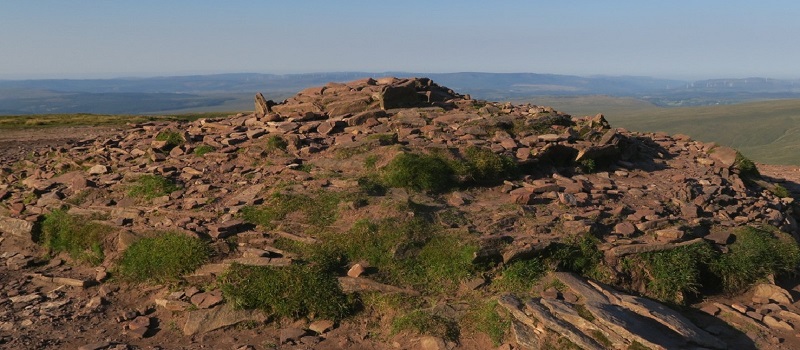
Ch 9: The mound atop Cwmcerwyn.
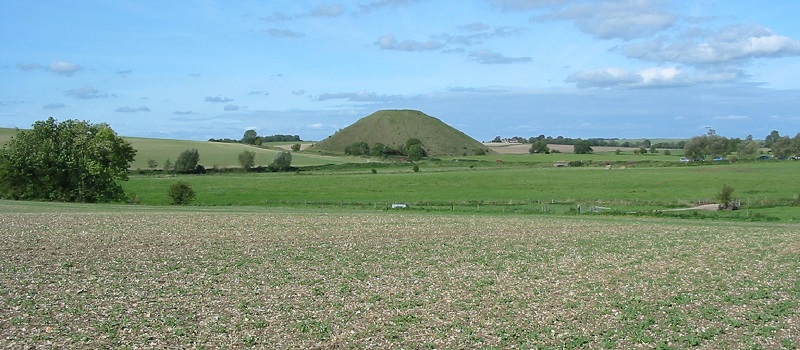
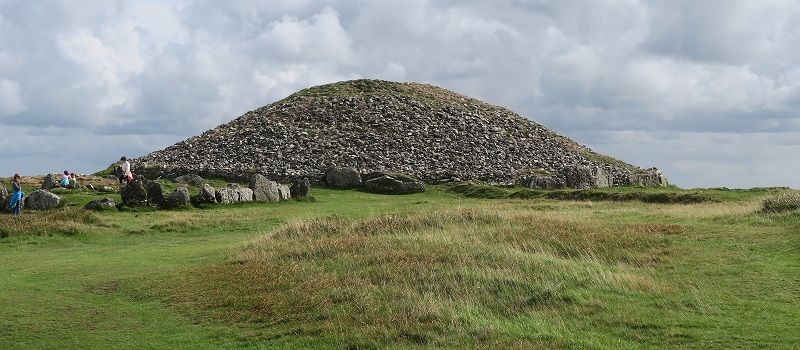
Ch 9: Silbury Hill
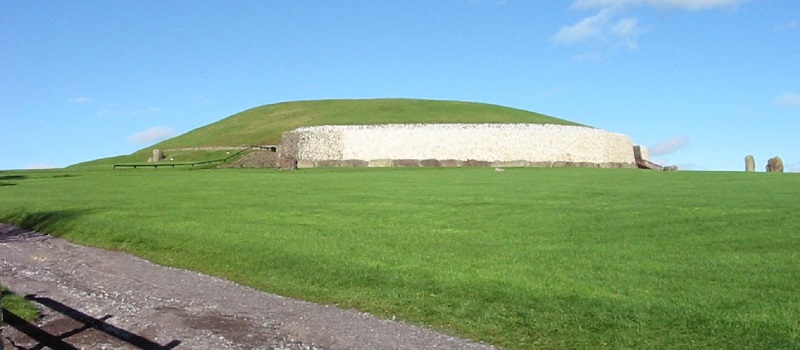
Ch 10: Newgrange.
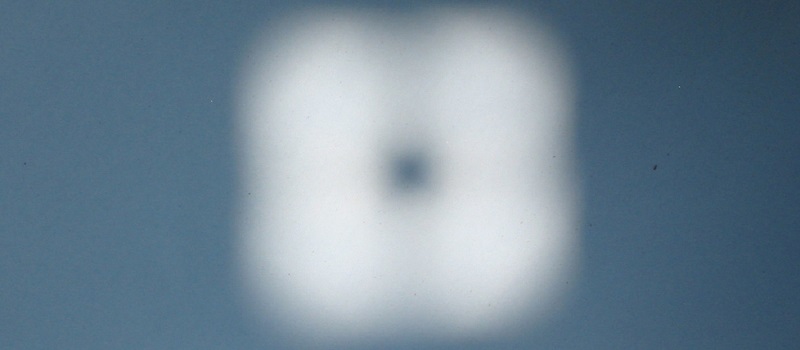
Ch 10: Unprocessed shadow image:
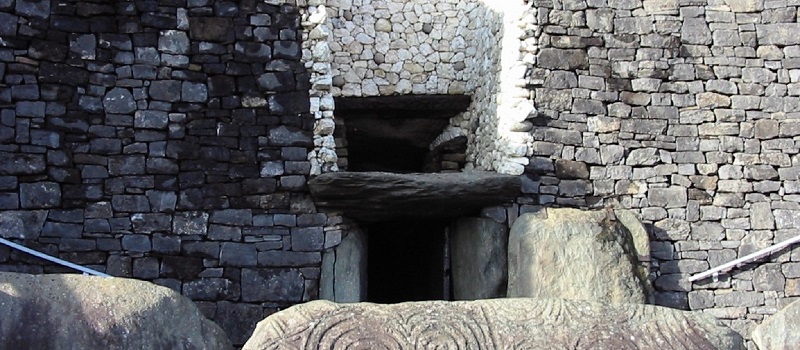
Ch 10: Newgrange:
Lightbox over the main entry.
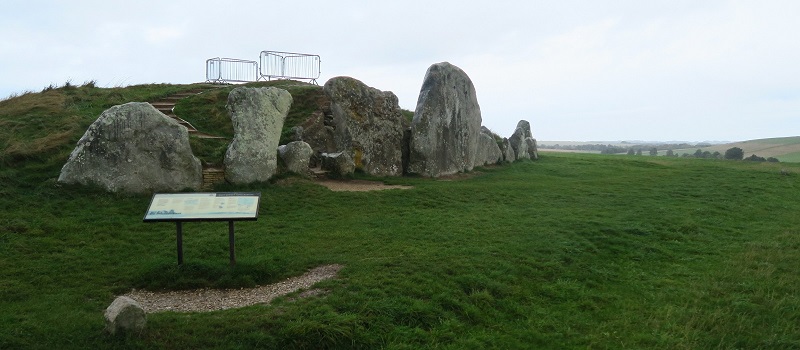
Ch 10: West Kennet Long barrow.
Ch 10: Loughcrew: Cairn T.

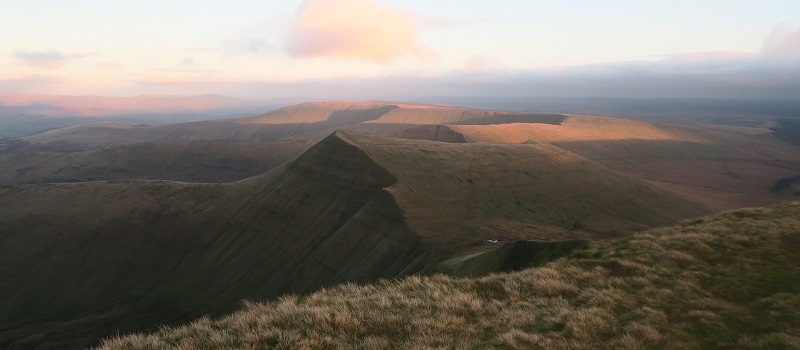
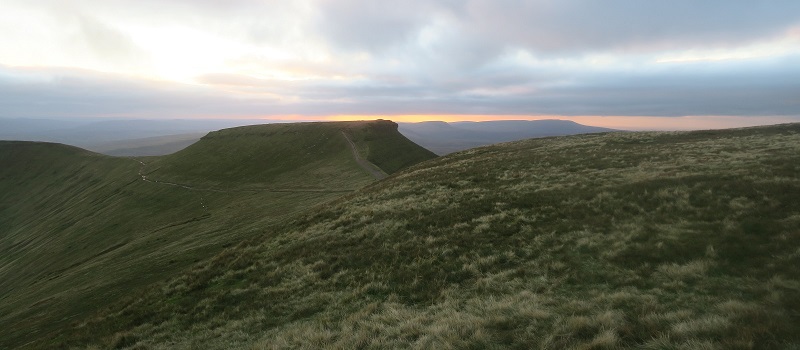
Ch 14: Pen y Fan and Corn Du:
Seen from Craig Cerrig Gleisiad.
Ch 14: On top of Corn Du:
The mound at its summit.
Ch 14: Pen y Fan:
A view east from its summit.
Ch 14: Corn Du seen from Pen y Fan
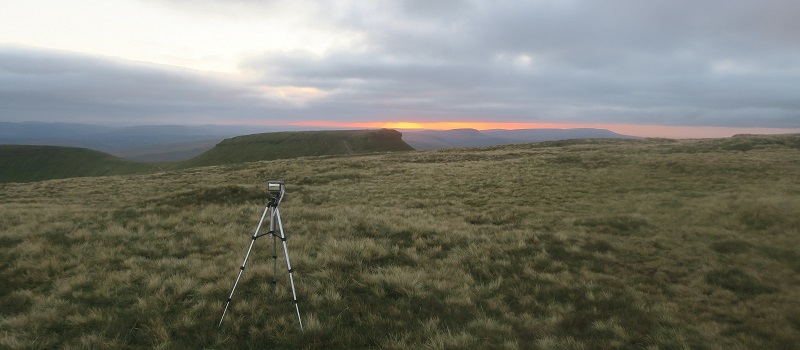
Ch 14: At Pen y Fan:
Setting up the cameras.
Ch 14: Pen y Fan; slightly too high on its slope:
Corn Du mound appears below horizon.
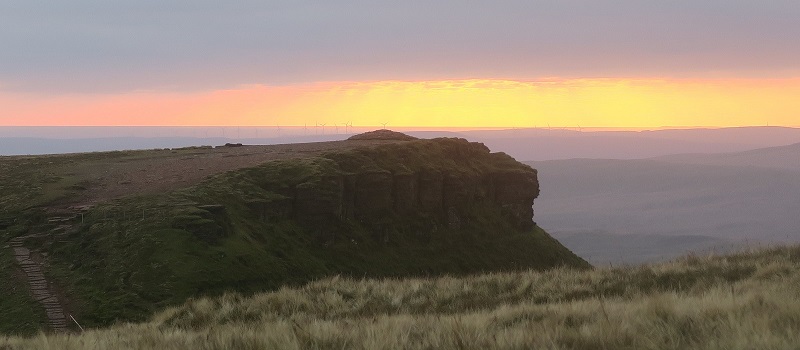
Ch 14: Pen y Fan; slightly too low on its slope:
Corn Du mound appears above horizon.
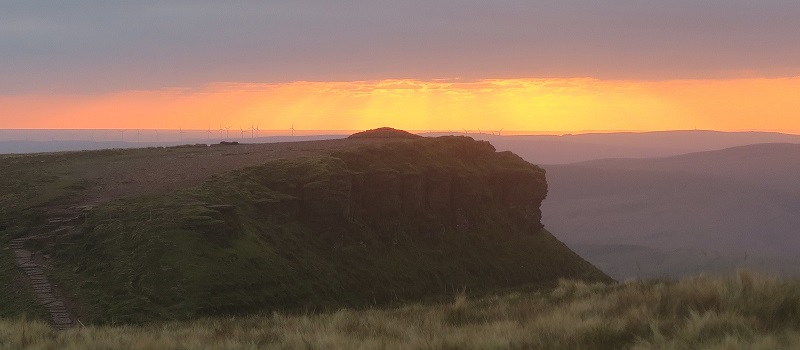
Ch 14: Pen y Fan; the intersection height:
Corn Du mound and the horizon meet.
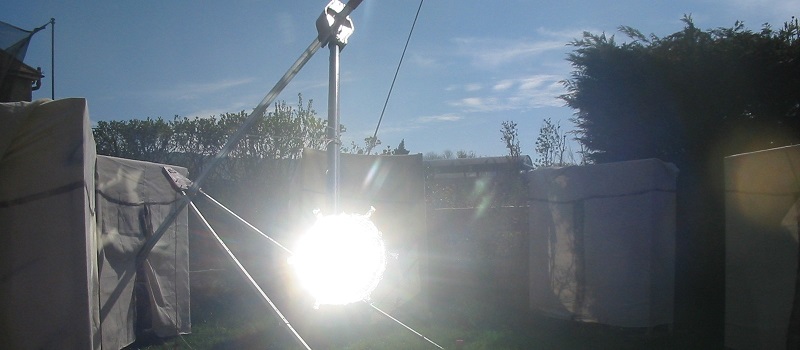
Appendices: First test rig:
With boiler and heat tank.
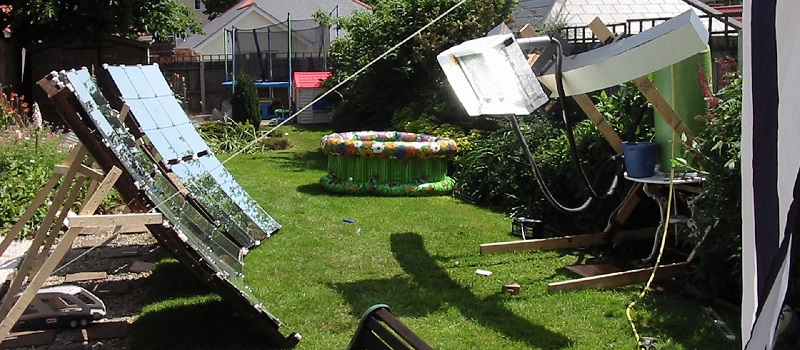
Appendices: Second test rig (1):
Using roller-runners and guided frame.

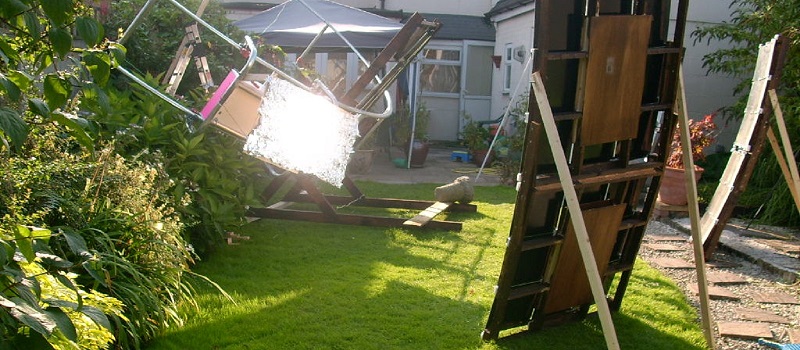
Appendices: Second test rig (2):
With boiler and heat tests.
Appendices: Second test rig (3):
The whole assembly
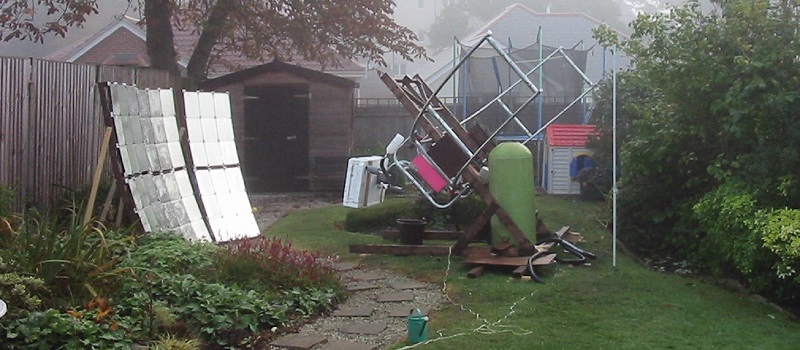
Appendices: Test rig with rotating polar axis:
(replaces roller set)
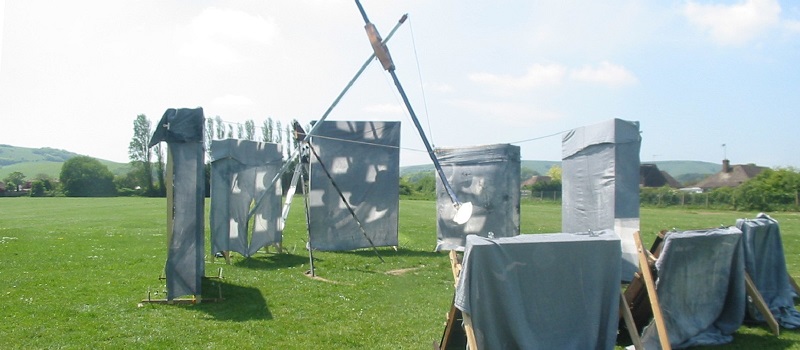
Appendices: Test rig with rotating polar axis:
In a scale model of a "pile of rocks in a field".
